


Simple Steps to Grow Chervil Microgreens
 Milosh Potikj
| December 07, 2023 | 8 MIN READ
Milosh Potikj
| December 07, 2023 | 8 MIN READ
Gardeners and culinary enthusiasts, have you ever considered growing your own microgreens at home?
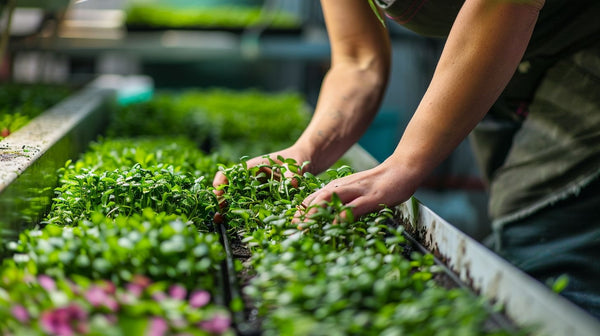
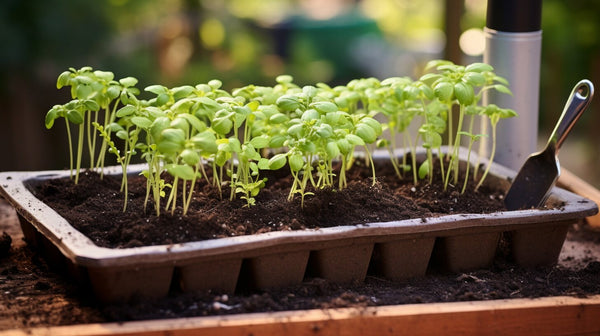
Chervil microgreens have beautiful, lacy leaves and a subtly sweet anise flavor. They're great for beginners and experts alike.
They are easy to grow and full of nutrients. Plus, they add an exotic flavor to your dishes, taking your home cooking to another level.
You'll find that a successful crop requires very few supplies and time but brings repeated enjoyment.
Understanding Chervil Microgreens

Chervil Microgreens are young chervil plant seedlings, scientifically named Anthriscus cerefolium. Just after the cotyledon stage, when the first pair of true leaves emerge, they harvest them. These greens have a special taste, like parsley and mild licorice. The leaves are delicate and lacy, adding to their appeal.
The benefits of Chervil Microgreens are multifold:
-
Nutrient-Dense: Chervil Microgreens are packed with essential nutrients, including vitamins, minerals, and antioxidants, contributing to a balanced diet and promoting overall health.
-
Culinary Versatility: With their unique, aromatic flavor, Chervil Microgreens can enhance a wide array of dishes, including salads, soups, and egg dishes. They add not only taste but also an aesthetic appeal to culinary creations.
-
Easy to Grow: Chervil Microgreens are straightforward to cultivate at home, needing only a shallow tray, quality potting soil, and a sunny spot. They are an excellent choice for novice gardeners and those with limited space.
Preparing for Sowing

Before embarking on your planting journey, you need to ensure you're adequately prepared. Having the right conditions and tools on hand will make the process smooth and yield a thriving crop.
Choosing the Right Seed
Start by sourcing high-quality Chervil Microgreen seeds crucial for a successful harvest. You can find different types of seeds, like organic, commercial, and non-GMO seeds. When choosing seeds for microgreens, it's all about personal preference. Just make sure to use seeds made for microgreen production so they germinate well.
To be safe, it's a good idea to get extra seeds in case some don't germinate or grow well. This will ensure you have enough seedlings for a dense, flavorful crop.
Choosing the Right Containers

To grow Chervil Microgreens, think about the container's size, depth, and drainage. Shallow trays or containers around 2 inches deep work perfectly for growing microgreens. To prevent root rot or fungal diseases, it's best to use a tray with drainage holes. This stops overwatering and waterlogging.
If the container doesn't have holes for water to drain, be careful with how much water you use when watering. Remember, while microgreens need moist soil, too much water can harm their growth.
Soil Preparation
The type of soil you use affects how well your microgreens grow. To help your seedlings grow, use a good potting mix with organic matter like peat moss. The soil should hold water well for seedlings to stay hydrated, but also drain water properly.
Spread a 1 to 2-inch layer of potting mix evenly in your container or tray. After that, you can sow your Chervil seeds.
Read More: Grow Borage Microgreens
Growing Chervil Microgreens

After preparing the soil and container, it's time to sow your Chervil microgreen seeds. The way you water, light, and heat your microgreens will affect their growth. Let's delve deeper into each of these crucial steps.
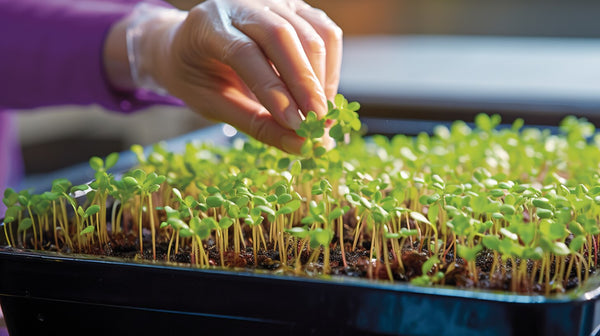
Sowing the Seeds
Broadcast your Chervil seeds evenly across the soil surface. It’s okay if the seeds are close together, as microgreens are harvested young and don't need much space to grow. To improve the seed sprouting, cover them with a thin layer of vermiculite. This keeps them moist and in the dark.
Watering Schedule

Watering is crucial for the growth of your microgreens. It's important to find a balance. Too little water stops seeds from growing. Too much water can cause mold. Initially, water your seeds thoroughly but gently to avoid displacing them. After the seeds sprout, water regularly in the morning to keep the soil moist and prevent fungi.
Optimal Light and Heat Conditions
Chervil microgreens need adequate light and heat to grow. After germination, place them in a sunny spot or under a grow light, ideally in the midday sun for natural sunlight. Ensure the ambient temperature is warm but not too hot, as extreme heat can cause the plant to bolt, resulting in bitter leaves.
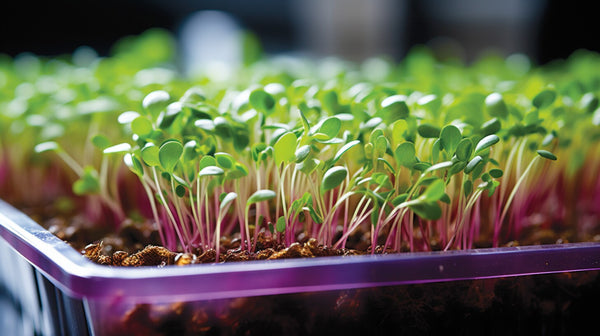
Growth Stage and Blackout Period
Monitor your microgreens closely throughout their growth stages. For the first few days after sowing, you can keep the seeds under a weighted blackout method or use a blackout dome to encourage robust root growth.
After the blackout period, uncover the plants and let them get light. This will help them do photosynthesis and become healthy, green microgreens. Typically, Chervil microgreens take about 10-14 days from sowing to harvest.
Caring for Your Microgreens

As your Chervil microgreens grow, some cultivation challenges may arise. In order to make sure your microgreens grow well, you need to learn about possible problems and how to fix them. Here, we cover three key areas to pay attention to: diseases, heat and light conditions, and moisture levels.
-
Dealing with Potential Diseases: Microgreens, like any other plants, can succumb to diseases, predominantly fungal infections, due to their moist growing conditions. The key to managing diseases is prevention. Ensure good air circulation around the plants, avoid overwatering, and remove any affected plants promptly to prevent the spread of disease.
-
Handling Heat and Light Conditions: Finding the right balance of heat and light is critical. If your microgreens are growing too leggy, they may need more light. If they're yellowing or drying out, they might be getting too much light or heat. Regularly monitor your plants and adjust their light source or location as needed.
-
Maintaining Moisture Levels: While microgreens need a moist environment to grow, too much water can be detrimental, leading to root rot and promoting fungal growth. The ideal scenario is to keep the soil consistently damp but not waterlogged. Check the moisture levels daily and water accordingly.
Read More: Best Pruners For Gardening in 2024
Harvesting Chervil Microgreens

The last step in growing Chervil microgreens at home is harvesting them. Growing your own greens is an easy and rewarding process. It yields fresh and flavorful greens that can be used in a variety of dishes.
Recognizing Mature Plant
Chervil microgreens are ready to be harvested when they grow to about 2 inches tall. The presence of their first 'true leaves' indicates their readiness.' The second set of leaves that appear are called true leaves. They look different and have a parsley-like shape, which is typical for more mature Chervil plants.
How to Harvest

To harvest your Chervil microgreens, follow these simple steps:
-
Choose the Right Time: The best time to harvest your microgreens is in the morning when they are the freshest. Make sure the leaves are dry to minimize the risk of damage during harvesting.
-
Use the Right Tools: Sharp scissors or a clean knife should be used to cut the microgreens. This provides a clean cut and reduces the risk of damaging the tender plants.
-
Cut Above the Soil Line: Position your scissors or knife just above the soil line and gently cut the microgreens. Be careful not to pull on the plants, as this can dislodge the roots and disrupt the soil.
-
Harvest in Stages: You don't have to harvest all your microgreens at once. If you prefer, you can harvest in stages, cutting only what you need for immediate use.
Read More: Grow Chive Microgreens
Storage and Shelf Life
It is important to store your harvested Chervil microgreens correctly. This will help keep them fresh and maintain their flavor and nutrition. Here's how to do it:
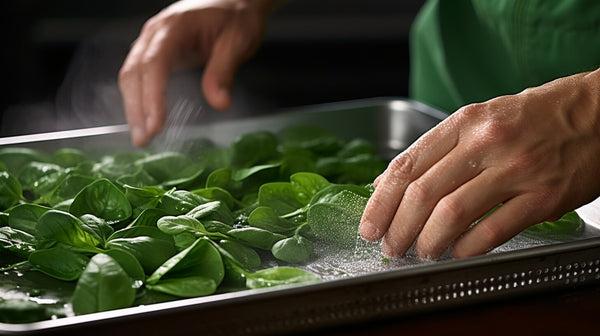
-
Rinse and Dry: Gently rinse your microgreens under cool running water to remove any dirt. Pat them dry using a clean paper towel or a salad spinner.
-
Proper Storage: Store the microgreens in a clean, air-tight container. Clamshell containers or resealable plastic bags are excellent choices. Line the container with a paper towel to absorb excess moisture and prevent the greens from becoming soggy.
-
Refrigerate: Place the container in the refrigerator. The ideal temperature for storing microgreens is between 2 to 4 degrees Celsius (36 to 39 degrees Fahrenheit).
-
Consume within a week: While Chervil microgreens are quite hardy, they are best consumed within a week after harvesting for the best flavor and nutritional content. Remember, the fresher the greens, the better the flavor.
To keep your Chervil microgreens fresh and flavorful, follow these storage guidelines.
Read More: Grow Spinach Microgreens
Using Chervil Microgreens

Chervil microgreens are versatile and can add a burst of flavor to a variety of dishes. Their delicate, slightly sweet anise-like flavor pairs especially well with springtime recipes.
-
Salads and Sandwiches: You can use Chervil microgreens raw in salads or sandwiches much like lettuce or spinach. Their fresh, herbal tang is a unique addition that can elevate the simplest of dishes.
-
Garnishing: Chervil microgreens make for an excellent garnish due to their attractive, lacy green leaves. You can use them to top off soups, pasta dishes, or even egg dishes for a pop of color and a boost of flavor.
-
Incorporation in Cooked Dishes: While generally used raw, Chervil microgreens can also be added to cooked dishes. However, they should be added just before serving as their flavor can get lost with prolonged heat. An ideal use would be in a creamy sauce or as an addition to scrambled eggs.
Remember, Chervil microgreens are not just about taste - they are packed with beneficial nutrients, so incorporating them into your diet is a delicious way to boost your health.
Read More: Grow Sorrel Microgreens
Flavor Profile of Chervil Microgreens
| Flavor Profile | Description |
| Taste | Chervil microgreens have a delicate, slightly sweet taste with hints of anise. |
| Aroma | They possess a light, pleasant aroma reminiscent of parsley and tarragon. |
| Culinary Uses | The unique flavor of Chervil microgreens is ideal for raw applications like salads, sandwiches, and garnishing. They can also be added at the end of cooking to infuse flavor without losing their delicate taste. |
| Pairings | They pair well with mild vegetables, light proteins like fish and chicken, eggs, and creamy sauces. They also complement other herbs and microgreens like dill, basil, and fennel. |
Frequently Asked Questions
Can I grow Chervil microgreens without soil?
Yes, you can grow Chervil microgreens hydroponically. Hydroponics is a soilless cultivation method that uses water and a non-soil growing medium, such as coconut coir or peat moss. However, monitor moisture levels carefully, as water retention can be different from traditional soil-based cultivation.
How do I identify diseases in Chervil microgreens?
Diseases in Chervil microgreens often manifest as wilting, yellowing, or browning of leaves or the presence of mold. To prevent diseases, maintain good air circulation, avoid overwatering, and ensure your plants are not overcrowded.
Can Chervil microgreens be grown indoors throughout the year?
Absolutely. Chervil microgreens can be grown indoors throughout the year, regardless of the season. They just require suitable containers, quality seeds, appropriate light, and steady temperatures.
Can I use Chervil microgreens in hot dishes?
Chervil microgreens can be used in hot dishes but should be added just before serving to preserve their delicate flavor. Prolonged exposure to heat can cause the flavor to diminish. They are ideal as a garnish for soups, pasta, or egg dishes.
Conclusion
In conclusion, Chervil microgreens are a wonderful addition to your home garden. They are not only easy to grow and packed with nutrients but also add a unique flavor to your dishes. With their delicate, anise-like flavor, they can turn the simplest dishes into culinary delights.
Whether you are a novice or an experienced gardener, venturing into the world of microgreens with Chervil is an excellent choice. By taking good care and using proper harvesting methods, you can have fresh Chervil microgreens anytime. Happy gardening!