How To Calibrate a pH Pen
Learning to calibrate a pH pen is important for any gardener. With the right calibration procedure, you can accurately measure and maintain the proper pH level of your nutrient solution. Whether you’re using a Bluelab pH Pen or another brand, the Canada Grow Supplies Learning Center has all the information you need to make sure it’s properly set up and working correctly.
From setting up and running regular tests to maintenance tips and calibration supplies, our guide covers all the bases in helping you calibrate your device. After setting it up with three simple steps—including stirring and immersing it in your nutrients—you’ll be able to get a handle on adjusting the pH of your calibration solution with more precision.
We recommend using our products so that you can consistently get accurate readings when testing your nutrients. Whatever brand of pen you’re using, this guide should help ensure that it works well for many seasons to come!
5 Steps To Calibrate a pH Pen
Calibrating a pH pen is an important step to ensure that readings accurately reflect the substance in which they are measuring. Before first use of a pH pen, it needs to be calibrated in order to obtain an accurate reading right off the bat.
However, calibration of your pH pen is not only required before initial use, but also after 30 days have passed and the check mark symbol has disappeared from the LCD screen, when the readings you’re getting differ from what you expect or if after cleaning or hydrating.
A few simple calibration steps are necessary in order to make sure that you’re getting readings from your pH pen that reflect reality.
Step 1
Before calibrating a probe, it is essential to clean it prior to use. This process is important for accurately recording data and is necessary for any user who intends to achieve accurate results. Firstly, the probe should be soaked in warm soapy water for a sufficient amount of time before being carefully washed with a soft cloth.
Any contaminants on the surface should then be removed using a dampened cloth or soft brush, followed by wiping down with an absorbent, lint-free tissue. Once the cleaning is complete and the probe has been dried thoroughly, it needs to be hydrated as part of its first use preparation (unless explicitly stated otherwise).
Hydrating involves soaking the cleaned probe in distilled water for 1 hour rather than tap water which often contains chemicals that could damage it. By following these simple steps, users can ensure that their probes are properly cleaned and adequate hydration before utilizing them for accurate readings.
Step 2
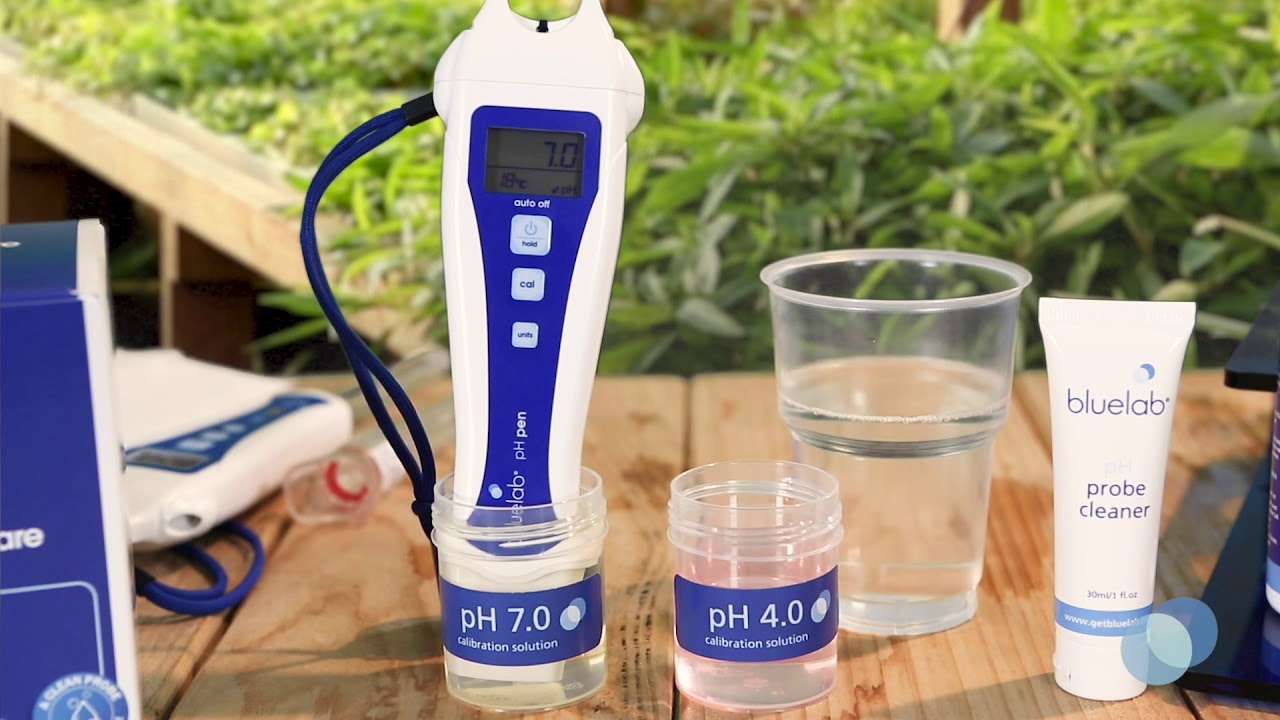
Step 2 of the pH testing procedure involves hydrating the probe after its initial introduction into the aqueous solution. This is done by rinsing it in fresh drinking water, then immersing it into a basic buffer solution that has a pH of 7.0. Once the probe is in the buffer, it is important to wait for the reading to become stable before any readings can be taken.
The time for stabilization may vary depending on the type of equipment being used and how far off from seven the starting pH level was. In most cases it should take around 15-30 minutes to reach stability, but this can vary depending on temperature and outside factors as well.
Step 3
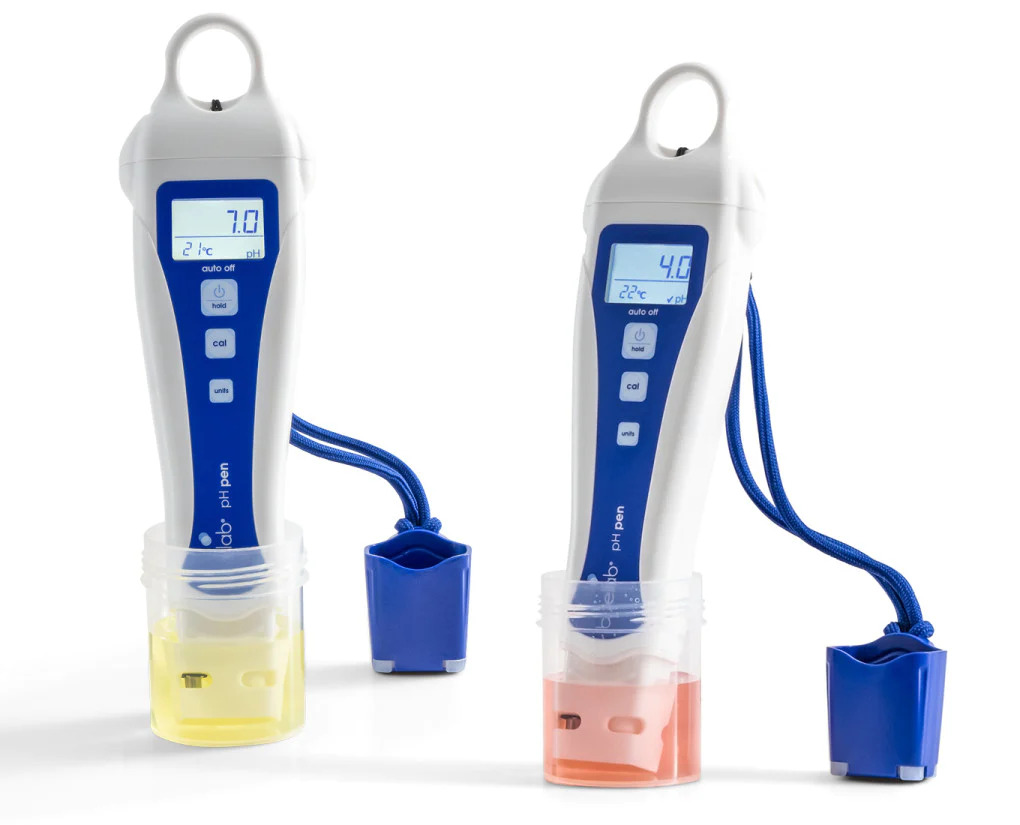
Completing a 1 point calibration is an important step when it comes to setting up your device. To ensure the accuracy of this calibration, careful and precise steps must be taken. First, press the 'cal' button until CAL is displayed on the device's screen. When you let go of the button, if CAL 7 is shown on the display, that means that your 1 point calibration has been completed successfully.
The entire calibration process ensures that your device reads correctly and gets accurate readings every time you use it. With proper care and routine calibrations, you can make sure your device produces reliable results that you can trust and count on for years to come.
Step 4
Conducting a pH measurement requires taking a careful approach in order to ensure accurate results. The fourth step involved in the process is to rinse the probe in fresh water and then place it in either a pH4 solution or pH 10.0 solution depending on what is expected to be measured.
For readings that are forecasted to exceed 7.0 on the pH scale, the 10.0 solution should be used to ensure more accurate readings. Since measurement solutions have different viscosities, they require different timeframes in order to properly calibrate and stabilize its reading.
As such, patience is needed as one waits for its results to become reliable after submerging their probe into the designated liquid media.
Step 5
Calibrating a pH pen is an important procedure, and the fifth step in the process is to press the cal button until CAL 4 or CAL 10 appears. Depending on what solution level is being calibrated, either of these will be displayed which will then enable the user to double-check that the calibration has been properly completed.
A check mark or tick will appear after a two point (or three) calibration has finished, so it is important to follow the instructions carefully in order to ensure accuracy. For a three point calibration, users should follow similar steps using pH 7.0, 4.0 and 10.0 solutions respectively.
Calibration may appear complex at first glance but it does not take long for users to become accustomed with this procedure and learn how simple and fast it can be. To prevent any issues arising from incorrect calibration, it helps to consult your user’s manual as this will provide relevant care and maintenance instructions for calibrating your pen correctly every time.


